Embarking on do-it-yourself (DIY) home improvement projects can be a rewarding and fulfilling experience. Whether you're looking to enhance the aesthetic appeal of your living space, increase functionality, or even add value to your property, mastering the art of DIY home improvement is a valuable skill to possess. This article explores essential tools, techniques, and project ideas to help you get started on your DIY journey.
Tools for DIY Home Improvement
1. Basic Hand Tools
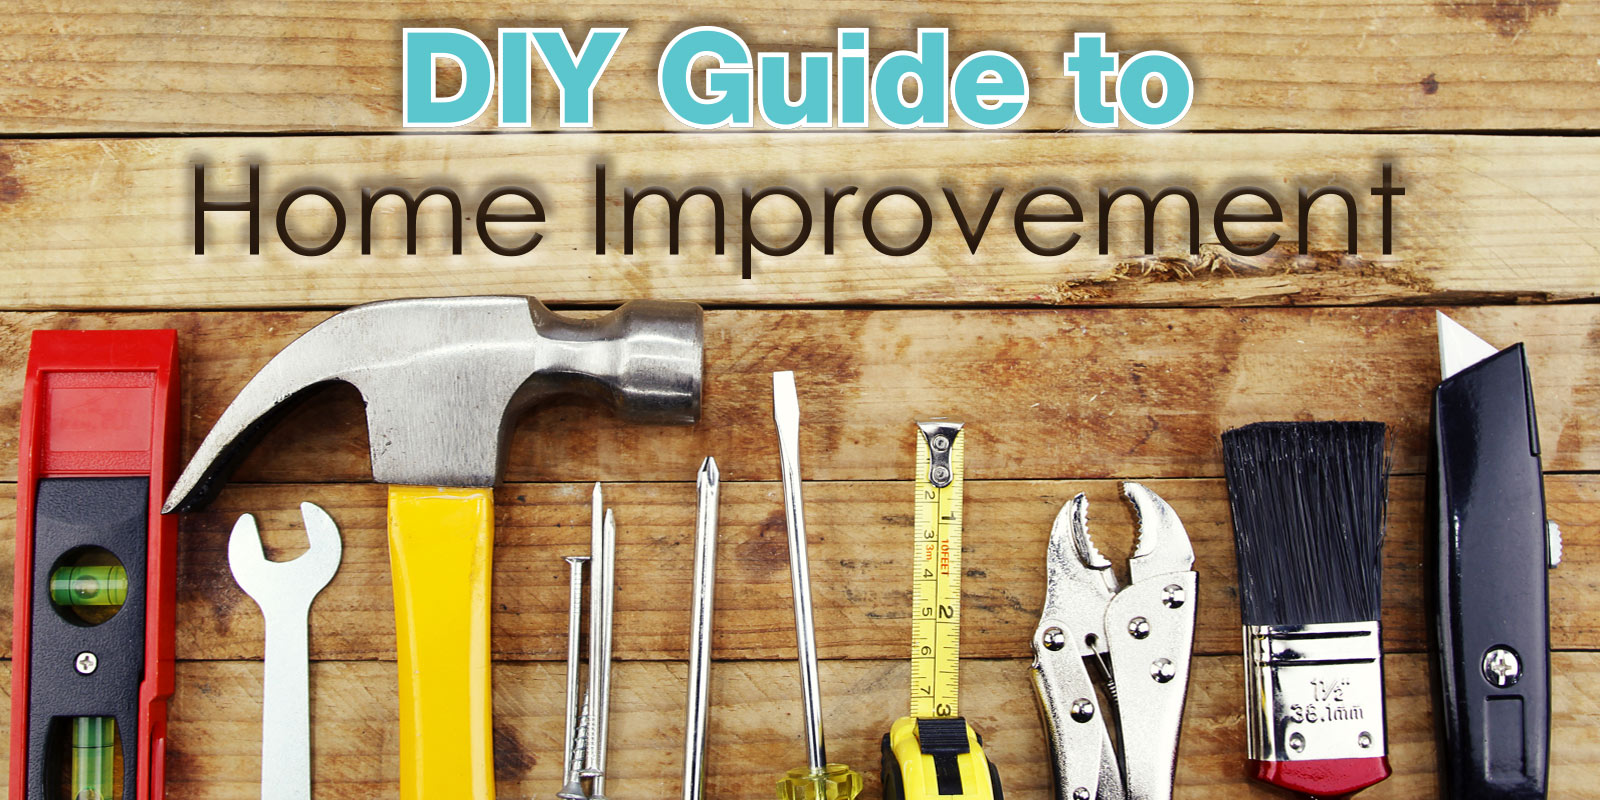
When it comes to DIY home improvement, having a set of basic hand tools is essential. These tools include a hammer, screwdrivers (both flathead and Phillips), pliers, adjustable wrenches, utility knife, tape measure, and a level. With these tools, you can handle a wide range of tasks such as hanging pictures, tightening loose screws, or assembling furniture.
2. Power Tools
Power tools can significantly speed up your DIY projects and enable you to tackle more complex tasks. Some essential power tools include a drill, circular saw, jigsaw, power sander, and a cordless drill. These tools can help you with projects like installing shelves, cutting materials, sanding surfaces, and more. Ensure that you follow safety precautions and instructions when using power tools to prevent accidents.
Techniques for Successful DIY Projects
1. Planning and Research
Before diving into a DIY home improvement project, thorough planning and research are key. Start by defining your goals and setting a realistic budget. Then, gather information about the project, such as required materials, techniques, and potential challenges. This preparation will help you make informed decisions, anticipate obstacles, and ensure a smoother execution of your project.
2. Learning and Skill Development
Building your skills and knowledge is crucial for mastering DIY home improvement. Take advantage of online tutorials, how-to videos, and reputable DIY websites. Attend workshops or seek guidance from experienced DIY enthusiasts. By continuously learning new techniques, you'll become more confident and proficient in handling a variety of projects.
3. Safety Precautions
Prioritizing safety is paramount when engaging in DIY home improvement activities. Always wear appropriate protective gear such as goggles, gloves, and a dust mask when necessary. Familiarize yourself with the proper handling of tools and equipment. Be cautious of electrical hazards and ensure you switch off power before working on electrical components. Remember, your safety should always be the top priority.
Exciting DIY Home Improvement Projects
1. Creating a Vertical Herb Garden
Transform a plain wall into a beautiful and functional vertical herb garden. Build or purchase a vertical planter and select your favorite herbs. Mount the planter securely to the wall and fill it with soil. Plant your chosen herbs and ensure they receive adequate sunlight and water. Not only will this project enhance your kitchen decor, but it will also provide you with fresh herbs for cooking.
2. Installing a Smart Thermostat
Upgrade your home's energy efficiency by installing a smart thermostat. This project allows you to control the temperature remotely and set schedules to optimize energy consumption. Start by turning off the power to your HVAC system. Remove the old thermostat and follow the manufacturer's instructions to install the smart thermostat. Connect it to your Wi-Fi network and configure the settings using the accompanying app on your smartphone. Enjoy the convenience of adjusting the temperature from anywhere and potentially saving on energy costs.
3. Refinishing Hardwood Floors
Give your home a fresh and rejuvenated look by refinishing hardwood floors. Begin by thoroughly cleaning the floors and removing any existing finish. Use sandpaper or a floor sander to smooth out imperfections and create a smooth surface. Apply a coat of wood stain in your desired color and finish with a protective sealant. Refinishing hardwood floors can bring new life to your space and add value to your home.
4. Building a Custom Bookshelf
Add a touch of personalization to your home by building a custom bookshelf. Determine the size and design that fits your space and style. Gather the necessary materials such as wood, screws, and a saw. Measure and cut the pieces according to your plan, then assemble and secure them together. Sand the surfaces, apply a finish if desired, and voila! You now have a unique bookshelf to showcase your favorite reads and decorative items.
Conclusion
Mastering the art of DIY home improvement opens up a world of possibilities for enhancing your living space. With the right tools, techniques, and project ideas, you can confidently tackle various projects and create a home that reflects your style and personality. Remember to prioritize safety, plan and research thoroughly, and continue learning and developing your skills. So, roll up your sleeves, grab your tools, and embark on your DIY journey with enthusiasm and creativity!

فل
ReplyDelete